
as promised here is the first part of the step-by-step of the Tar'Akoona diorama.

Just as the Summer Heat Contest was announced I tinkered with the idea of building a dragon for my nephew Florian, as he expressed interest in the new Forgeworld dragon as a birthday gift.
Since the theme of the contest was a perfect fit, I decided to give it a go.
Had I known how much work it will be, I probably would've simply pulled my credit card and ordered the Forgeworld dragon *lol*
So I started off by creating a very simple wire frame of the dragon.


Then I started to add some mass with Milliput.

And added the "fingers" to the wings.

More Milliput directly onto the wire to ensure the following FIMO would stick.

While the Milliput dried I started to sculpt the dragons head.


Later I applied and baked the first layers of FIMO.

When I mounted the head for the first time together with the fleshed out body I started to doubt.


The head was too big :(

While digesting the idea that I had to re-create the head, I also had to begin with the gate house I had planned for the diorama.
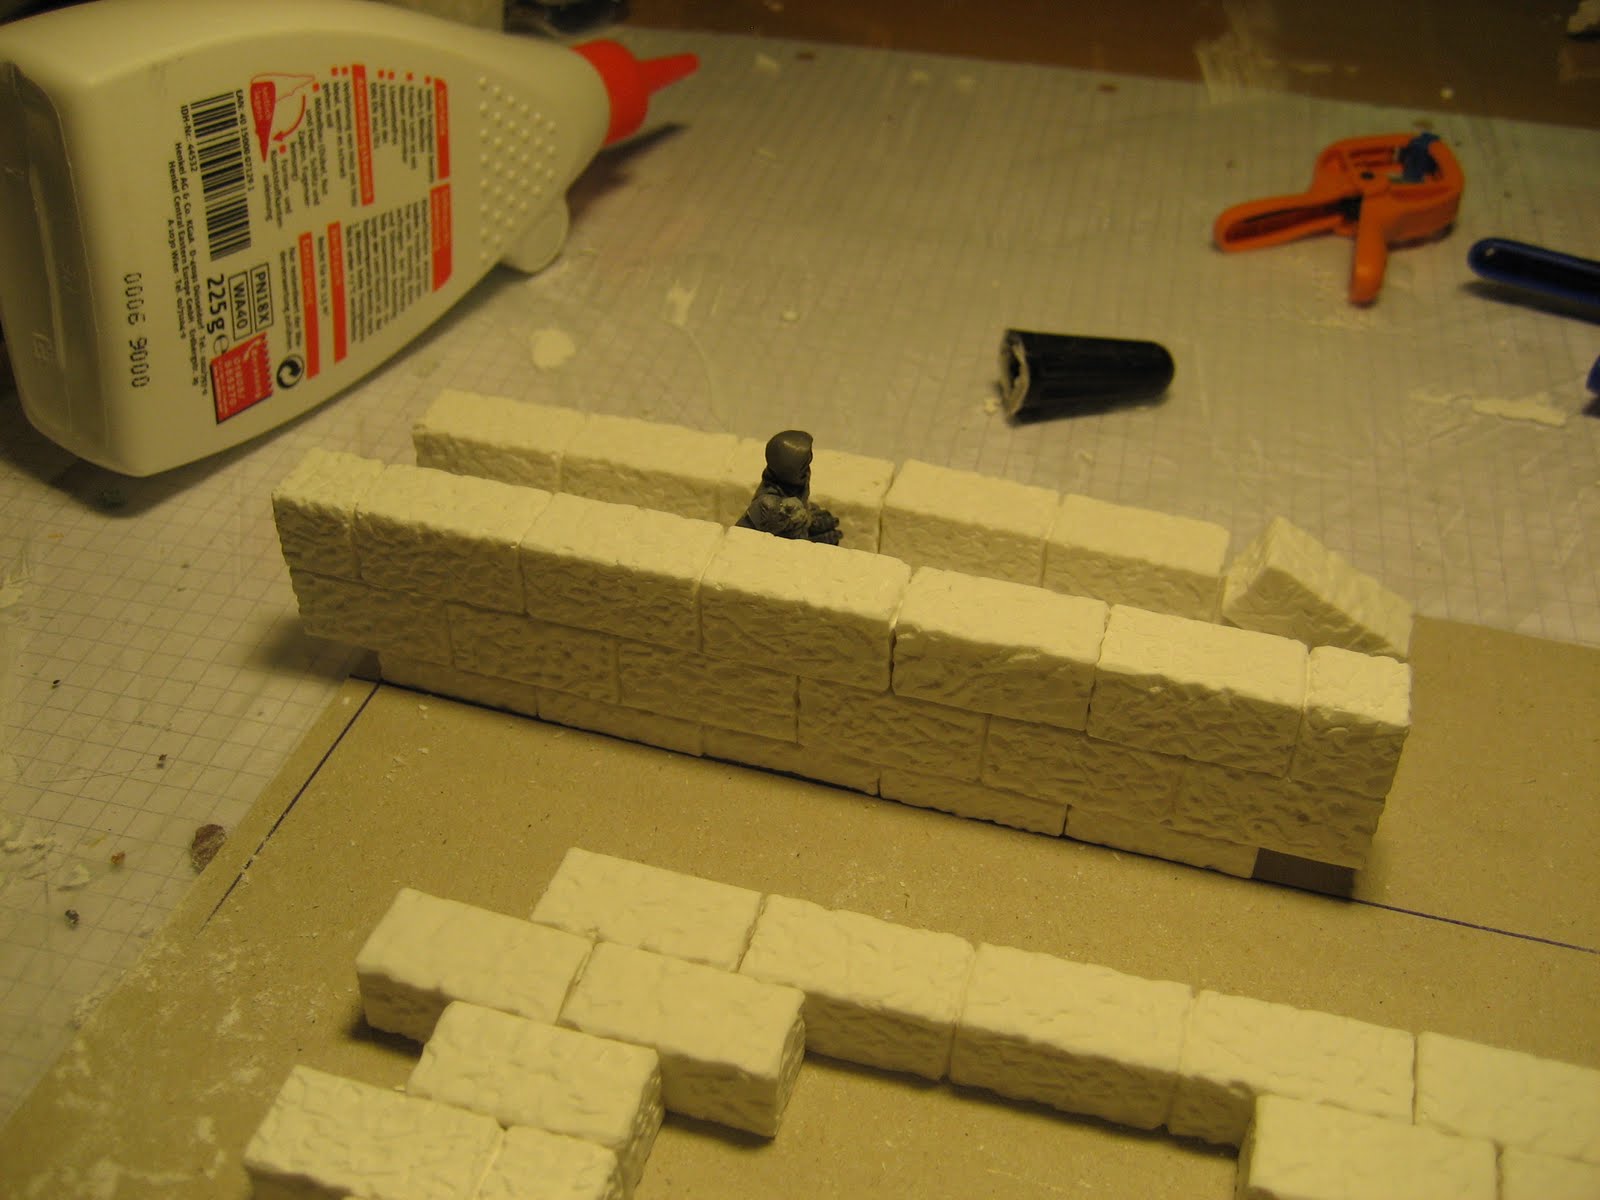
I had already some Hirst Arts molds, so I started to pour plaster and create the neccessary bricks.

Once I had enough I started to build the gatehouse.

I mounted them on cardboard to ensure they line up nicely and also have a solid base while the PVA cured.


In the meantime I also experimented on the "old" dragons head how to flesh it out and get the dragons skin onto it.

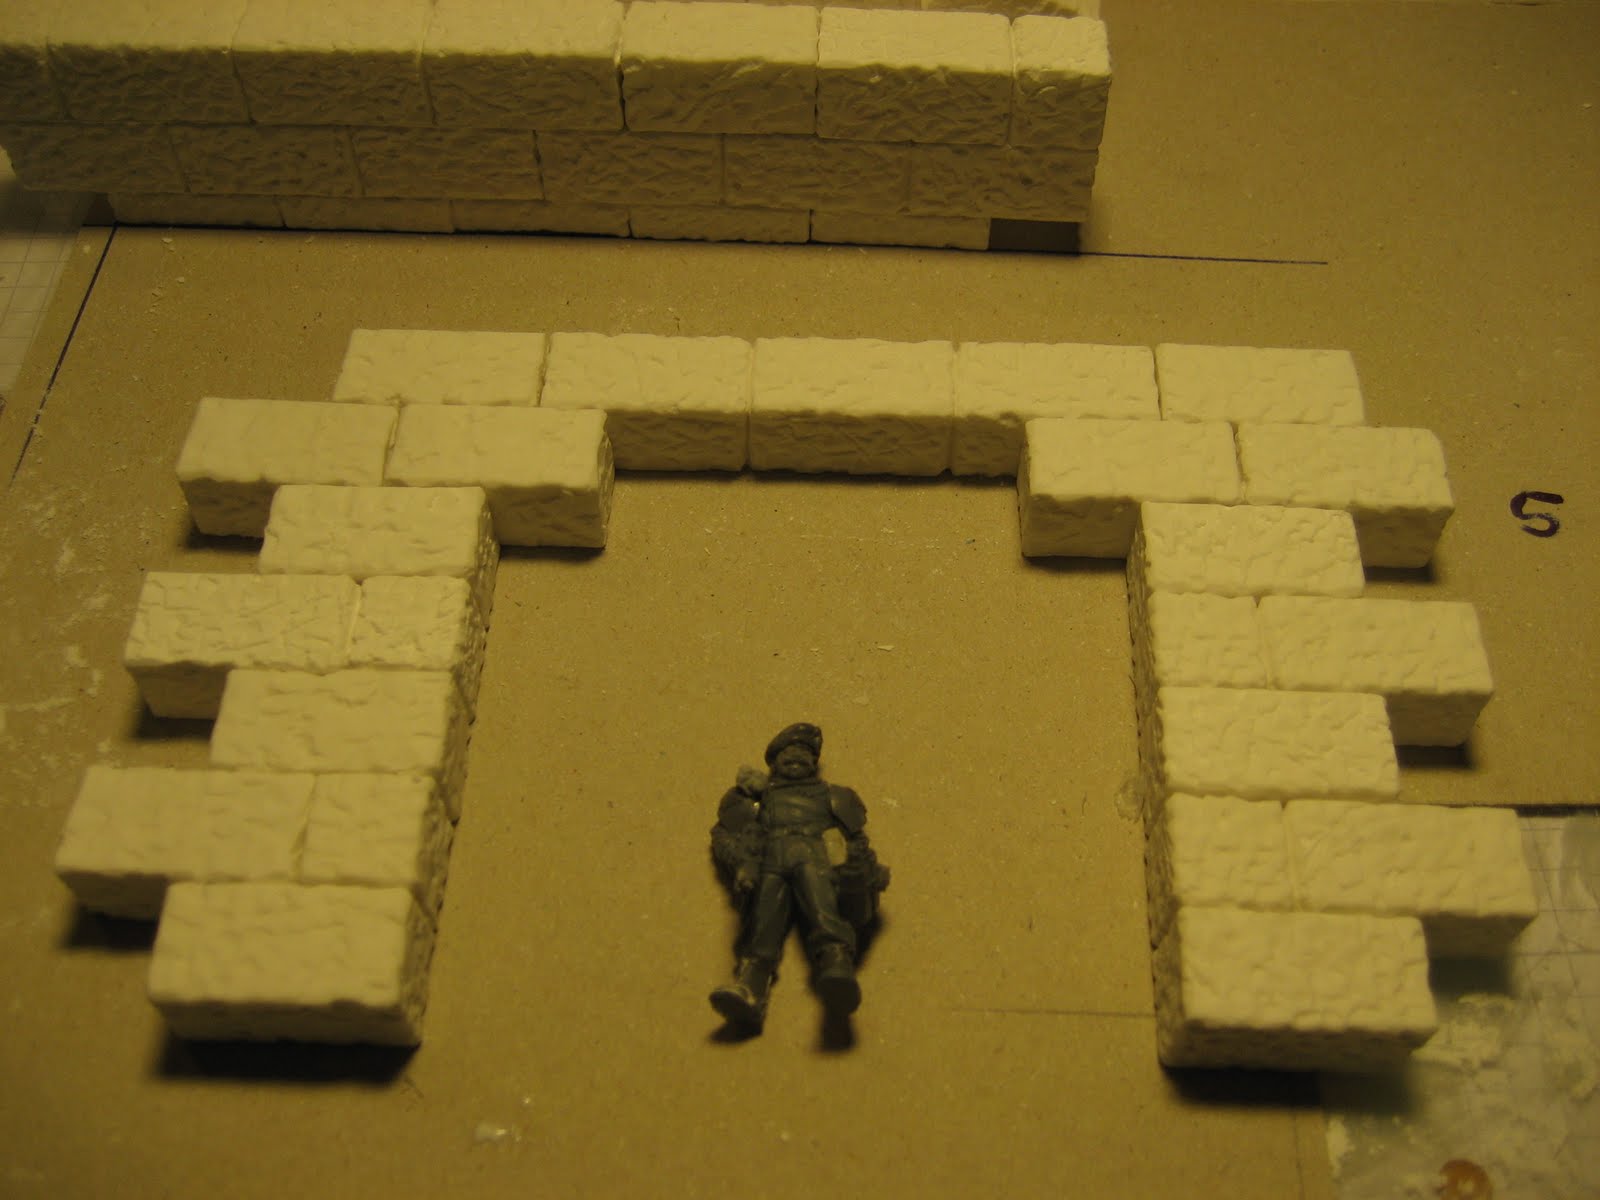
The basic gate takes shape.


Then I added the first side.


And also mounted a little statue on the inside of the gate.

Here you can see the basic fitting of the different items together with the start of the new head.

From the beginning I always tried to keep all items in balance, so I wouldn't have to permanently mount the dragon, but i rahter could be used without the gatehouse too.


The first rough claws and spikes.


The upper side of the head is finished.

Then I worked on the other side of the gatehouse. already damaged by the dragon.


Creating the wings skin was an adventure. I rolled the Milliput out thin onto some plastic wrap, let it set for 30 minutes and then mount it onto the wire.

While the skin cured I worked some more on the new dragon head.

After the basic shape was complete I added some smoother layers of super fine Milliput, as well as pre-formed teeth of ProCreate.


Here you can see the first wing. As you can also see at the white areas, some sections of the original skin broke off and I had to repair them with Milliput

But the result together with the new head wasry promising!

... tbc tomorrow.