
Since my wife is out of town for a few days, I have 100% hobby time :)
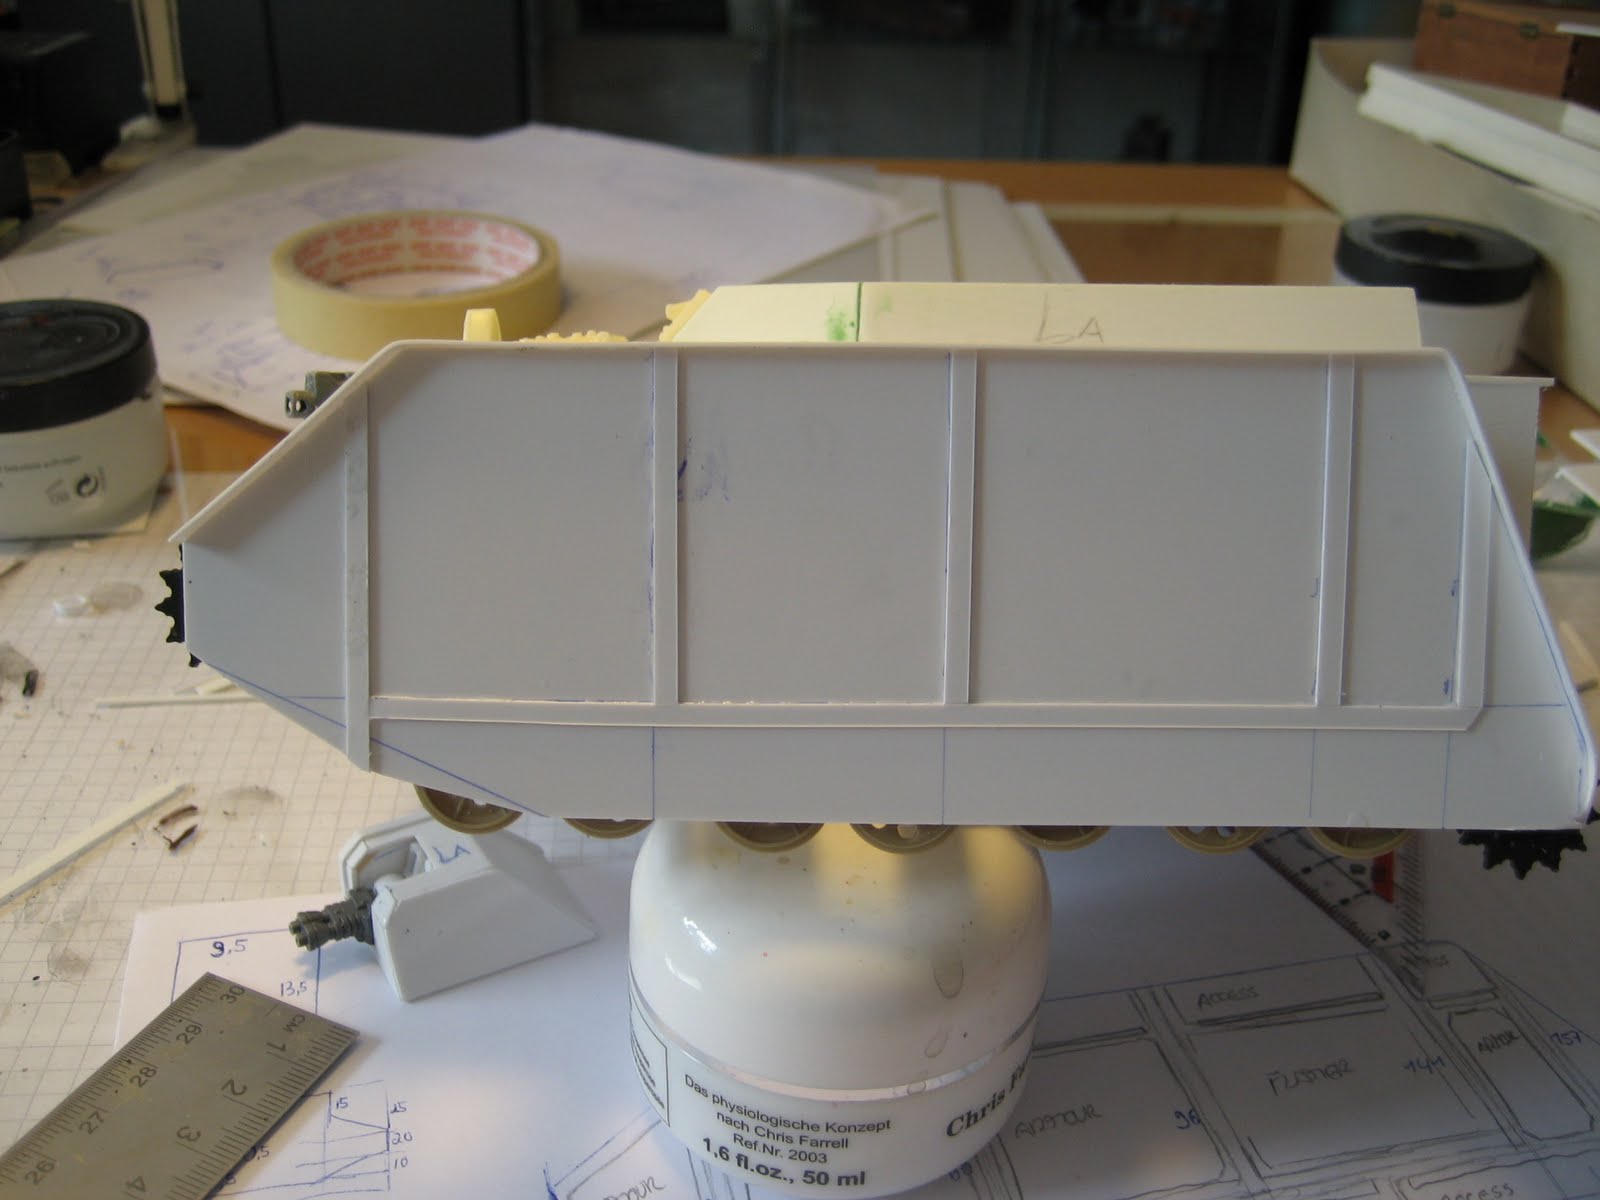
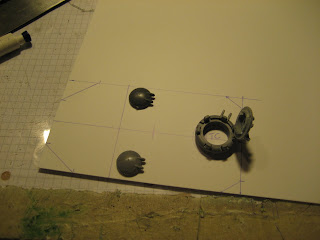
So, the first casts are done

and I mounted them on the HERCULES.

Then I started to build out the sponsons, using the Macharius pattern sponsons.

Relative easy build with Flamers.

I even added a small vision slit.


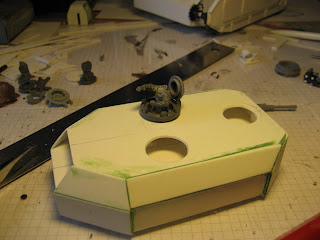
Then I worked on the track skirts and the actual track guides.

So you can see there's now a rim around the top.


Then I drew out the layout of the track skirts, with access hatches and armour plates.

And transfered the design to plasticard.
Te access hatches,

and the armour plates.


And repeated it on the other side.

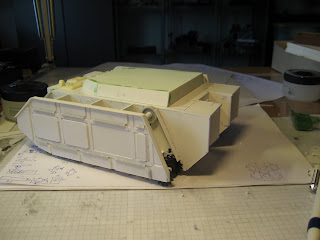
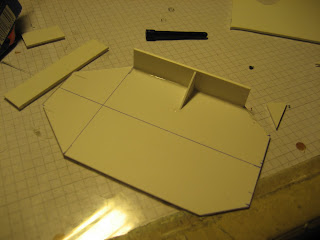
Next up was the rear section.
For this I cut the additional side walls.

Which would be mounted like this.

Since I had something special in mind I needed 4 of these panels.

And a central section with a ramp and a small vision slit :)
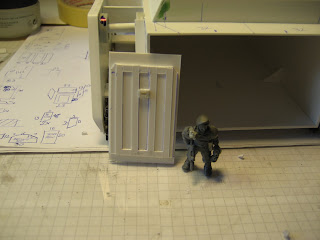


So this is how the rear will look like.
For the rear section I planed some exhaust grills.


Looking OK.


but not quite right...

For this I cut the additional side walls.

Which would be mounted like this.

Since I had something special in mind I needed 4 of these panels.

And a central section with a ramp and a small vision slit :)


So this is how the rear will look like.

For the rear section I planed some exhaust grills.


Looking OK.


but not quite right...

So I took them back off :(
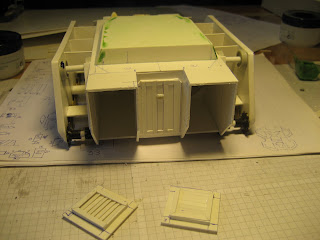
This time I did a different design, using the complete width of the panel and adding a small access hatch on top of the grill.
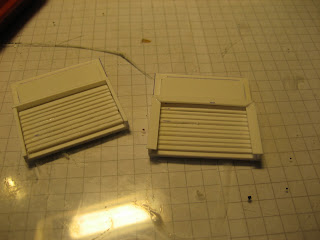
That's a lot better!

Next was a ventilation cover.

Actually really simple.
First I build a frame with 3mm wide plasticard strips.

And then I used some moscito screening :)

Glued it down,

and built a cover of 5mm wide plasticard.

Quick and very effective.


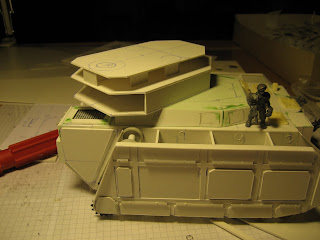
I have to admit it will be a relative modern design turret.

but I think it will look good (hopefully - fingers crossed).


I started out with the 15mm high sides

and placed the second section of the turret on it.

Then 10mm high spacers.

and finally the roof section.
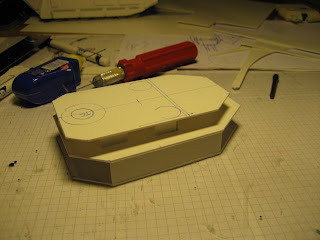
What do you think?


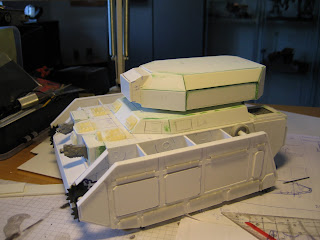
Since I liked the look of the basic turret, I started to build out the rear and sides.

but again, a lot of putty was needed *blush*

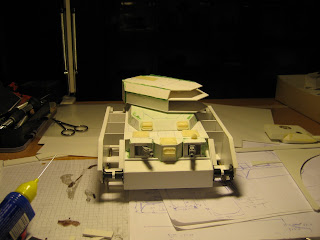
This morning I sanded it off and smoothened the lines.
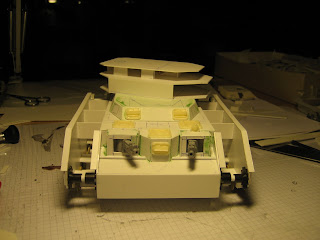
 Then I built the angeled front section

again with the assistance of some tape


Unfortunately I'm out of large diameter rods!
So I odered some new ones, but the actual gun barrel building now has to wait :(

But you get the idea of the turret and how it will work.

Before I'll add any details to the turret (I already have nightmares about the million of rivets to come) I started to work on the 3 hatches.
Initially I had planed to simply glue them on, but then I realized I have to cut the holes into the roof if I want to actually add crew members.

So here's the start of the first loader - you may remember this pose form the ZEUS :)
He'll be smoking a cigarette and lean onto the MG.

The second gunner will actually hold the MG properly, providing overwatch cover.

For the commanders hatch I added a special sighting and targeting device.


Maybe a special Xenos scanner?


I still have to do some GS around his neck, as I had to raise the head to properly position it with the hand.
Most likely he'll get a white scarf :)

And this is how the 3 will look together.


I hope you like the turret and thank you for taking the time to read through it all :)

This time I did a different design, using the complete width of the panel and adding a small access hatch on top of the grill.

That's a lot better!

Next was a ventilation cover.

Actually really simple.
First I build a frame with 3mm wide plasticard strips.

And then I used some moscito screening :)

Glued it down,

and built a cover of 5mm wide plasticard.

Quick and very effective.


Then it was time to design the turret.
I want to have a commander hatch in the rear center and two hatches for the two loaders - remember the HERC will get twin cannons.
I want to have a commander hatch in the rear center and two hatches for the two loaders - remember the HERC will get twin cannons.

I have to admit it will be a relative modern design turret.

but I think it will look good (hopefully - fingers crossed).


I started out with the 15mm high sides


and placed the second section of the turret on it.

Then 10mm high spacers.

and finally the roof section.

What do you think?


Since I liked the look of the basic turret, I started to build out the rear and sides.

but again, a lot of putty was needed *blush*


This morning I sanded it off and smoothened the lines.


again with the assistance of some tape


and considerable amounts of putty.
Here you can see the gun mount.
Unfortunately I'm out of large diameter rods!
So I odered some new ones, but the actual gun barrel building now has to wait :(


But you get the idea of the turret and how it will work.

Before I'll add any details to the turret (I already have nightmares about the million of rivets to come) I started to work on the 3 hatches.
Initially I had planed to simply glue them on, but then I realized I have to cut the holes into the roof if I want to actually add crew members.

So here's the start of the first loader - you may remember this pose form the ZEUS :)

He'll be smoking a cigarette and lean onto the MG.

The second gunner will actually hold the MG properly, providing overwatch cover.

For the commanders hatch I added a special sighting and targeting device.


Maybe a special Xenos scanner?


I still have to do some GS around his neck, as I had to raise the head to properly position it with the hand.
Most likely he'll get a white scarf :)

And this is how the 3 will look together.


I hope you like the turret and thank you for taking the time to read through it all :)
C&C welcome and appreciated.
Cheers
Klaus